

Easy and Fun Kitchen Activity! (Make Gummy Bears with Your Kids)
We’ve had some real wintery weather around Kentucky lately, so to pass the time and make our snow days more fun, I got in the kitchen with my kiddos one weekday this week. We made gummy bears and worms, and we all had a blast!
Yep, that’s right, we actually made our own! It’s a fun and simple process (but give yourself about an hour from start to finish). Plus, the finished product is obviously very delicious if you like the taste of gummies. Using flavored gelatin actually intensifies the flavor, so I think the gummies actually taste better than store-bought.
If you’d like to try out this fantastically fun activity with your own kiddos, this post will show you step by step how to do it!
Step 1: Gather Your Ingredients and Supplies
Disclosure: This post contains affiliate links, providing me with a small commission if you purchase a product listed at no extra cost to you.
Obviously, for gummy bears and worms, you’ll need special molds. Amazon to the rescue! Here is the link to the gummy bear and worm molds we purchased. The package will come with 4 silicone molds (2 are gummy bears and 2 are worm forms) as well as 4 droppers to help you distribute the gummy mixture among the molds.
To use all of the molds at one time, you’ll need two different flavors of gelatin (not sugar-free) and two packets of unflavored gelatin (usually one box contains 4 packets, so you’ll have enough for another time). Let your kids choose their favorite flavors of gelatin. For this batch, we used blueberry and cherry flavors.
Checklist of supplies and ingredients you’ll need:
- Gummy bears and worms molds– Click the link to purchase
- 2 different flavors of gelatin (3.9 oz each)
- 2 packets of unflavored gelatin (¼ oz each packet)
- 2/3rd cup of cold water, divided (⅓ cup per mixture)
- 2 glass bowls for the gummy mixtures
- 2 whisks for stirring

Step 2: Prep your Gummy Mixtures
For each flavor of gummies you’re making, you’ll need a separate bowl. Putting together the gummy mixes is fun for kids of all ages. I highly recommend letting them mix the ingredients while you supervise!
To each bowl, add 1 flavored packet of gelatin, 1 unflavored envelope of gelatin, and ⅓ cup cold water. Using a whisk, stir the ingredients until combined.
Repeat this process for the other flavor in the other glass bowl. Let the mixture sit for 10 minutes at room temperature.
Working with one bowl at a time, microwave the gelatin mixture for 30 seconds, then stir with the whisk before microwaving another 30 seconds. If the mixture looks somewhat clear, you’re ready to go. If not, microwave it for another 15 seconds before moving on.
Step 3: Fill Your Gummy Molds
Once your mixture is ready to go, use one of the droppers to collect gelatin mix from the bowl, filling the dropper completely. Working quickly, completely fill the gummy bear or worm molds with the gelatin from the dropper. The longer the mixture sits, the thicker it becomes making it harder to work with. Hint: work quickly! It will make clean-up easier.
After you’ve completed this process and filled all of your molds, stick them in the freezer for 20 minutes to allow the gummies to set.
Step 4: Storing your Gummies
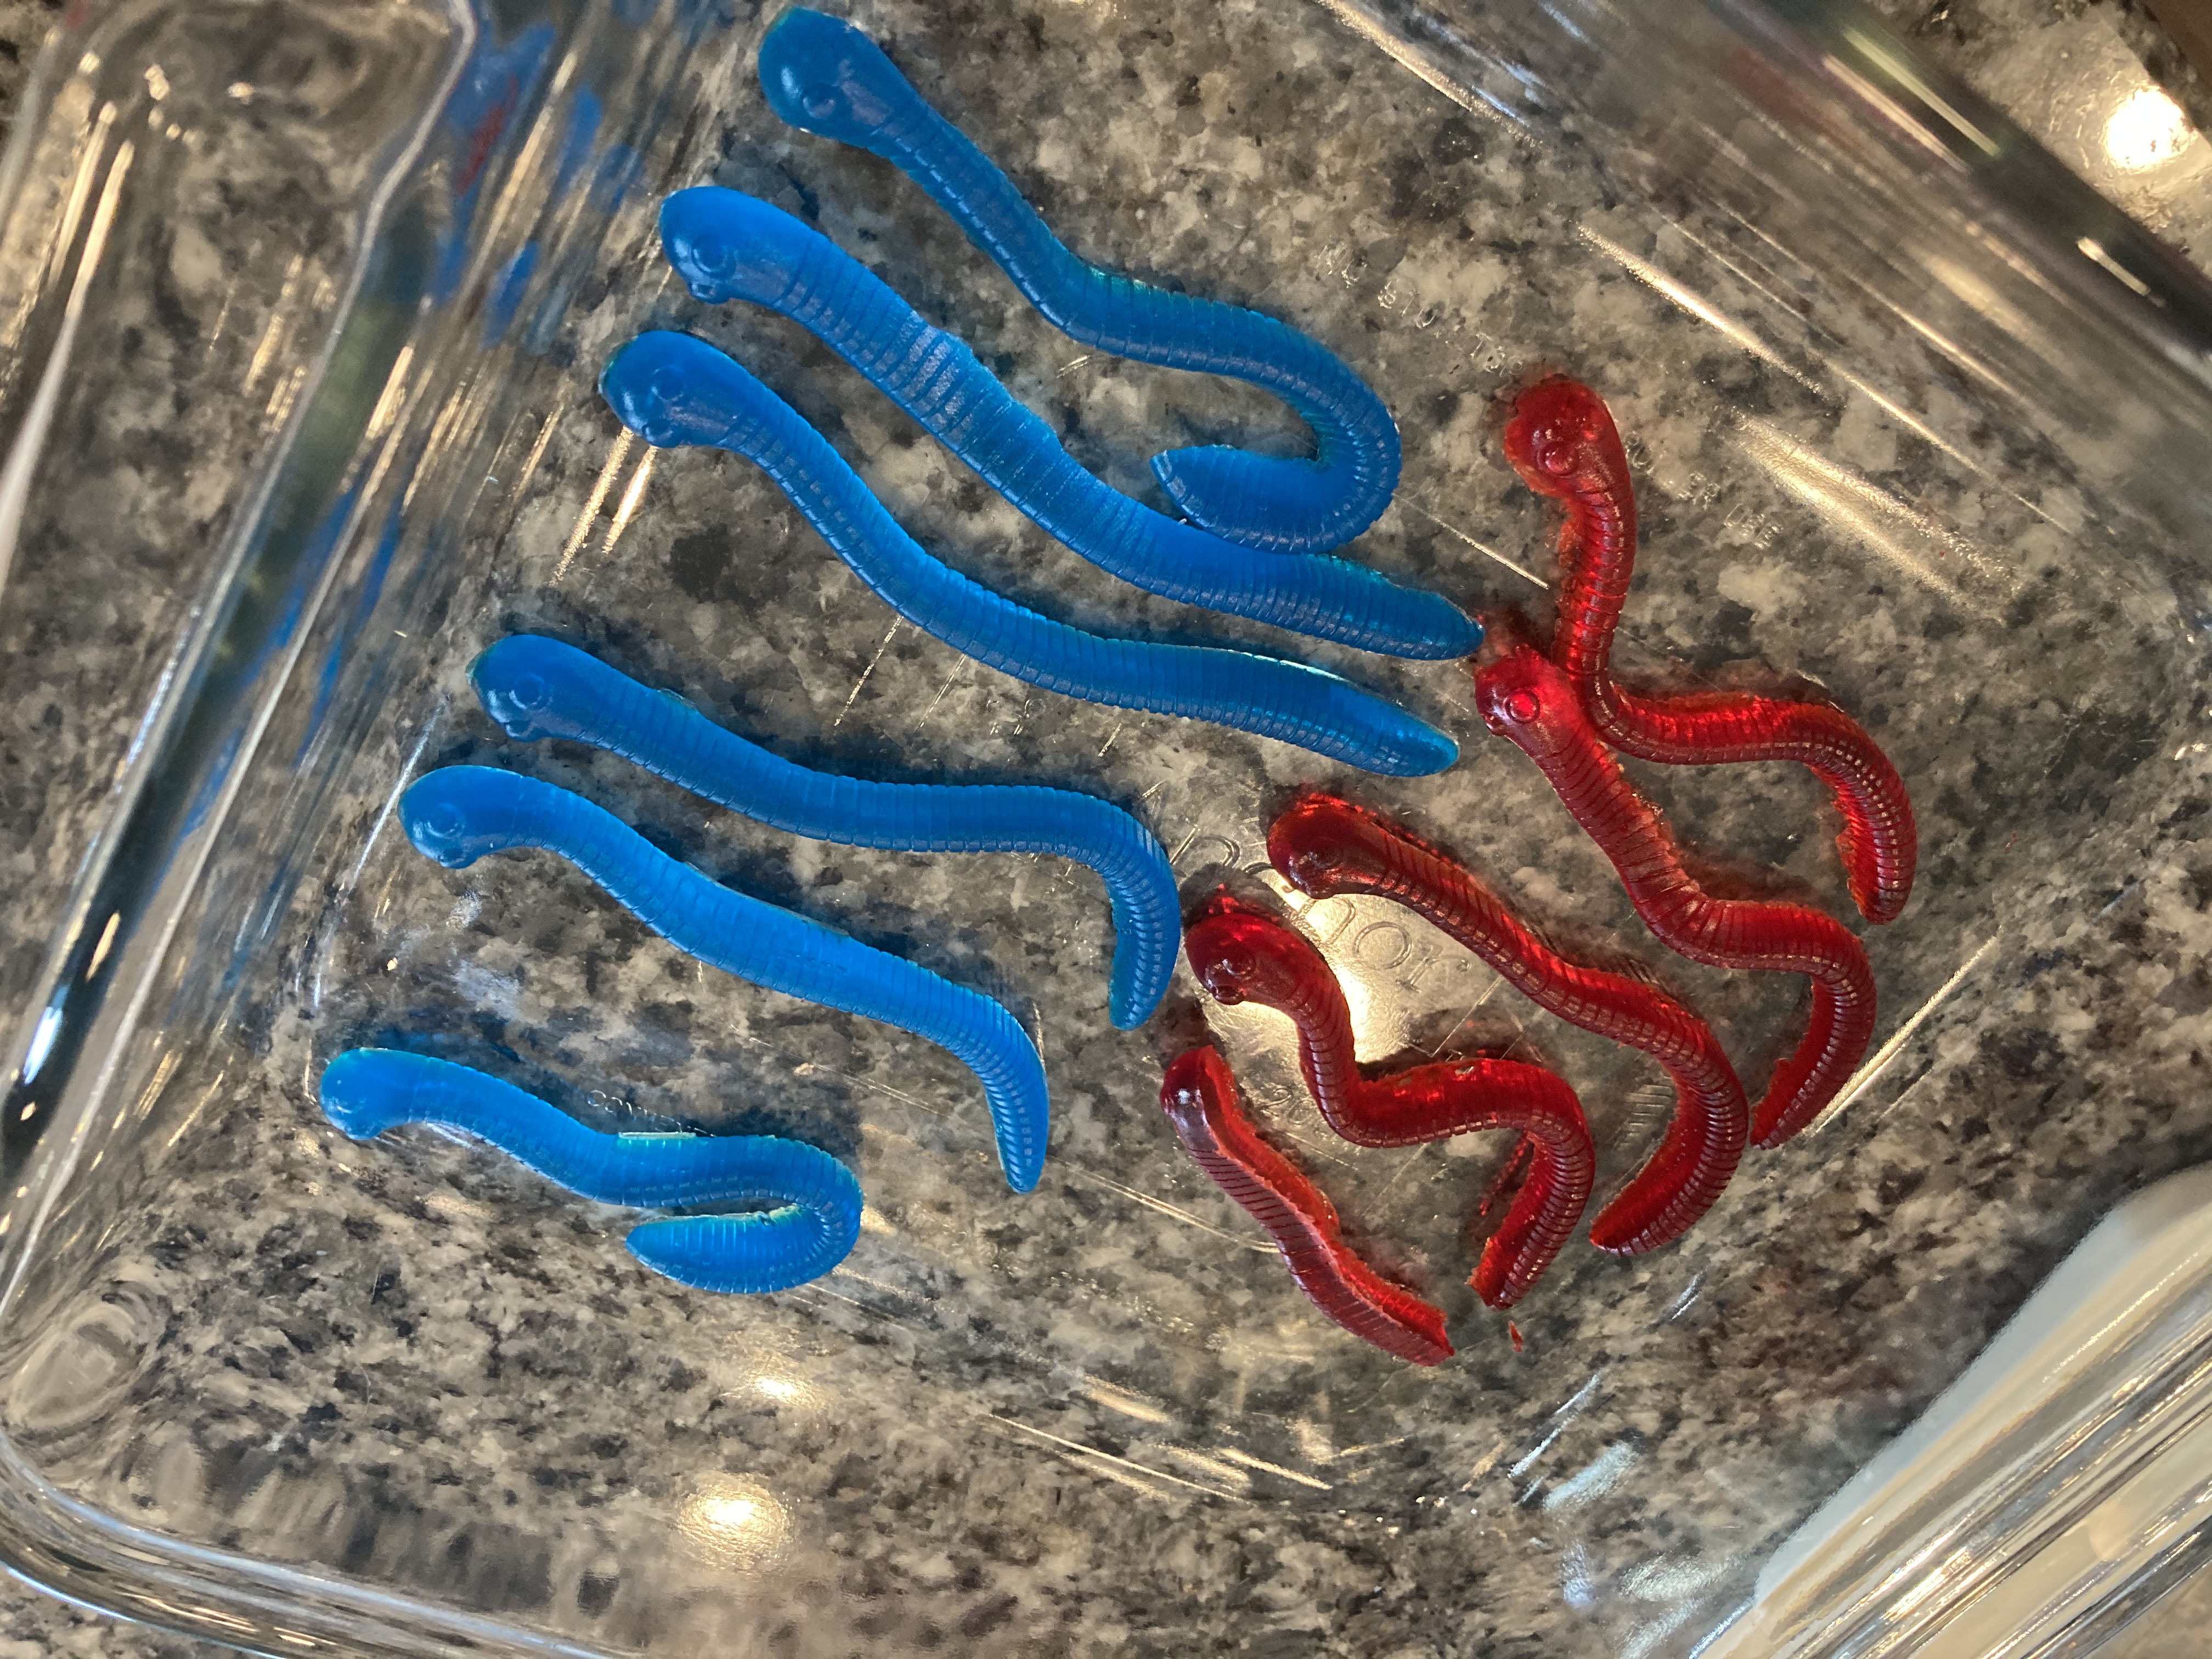
When they are ready, pop the gummies gently out of the molds. You’ll want to store the gummies in a glass or ceramic container in the refrigerator.

Though it might be more time-consuming than just grabbing a pack of gummies from the store shelf, making gummies with your kids is a great way to spend time with them in the kitchen. And, be prepared to be dubbed the coolest mom when your kids brag to their friends that you all made gummie bears and worms from scratch!
What is your favorite gummy bear flavor?
